To screen record on iPad, swipe down from the top-right corner to open Control Center, tap the Screen Recording button and wait for the three-second countdown. To stop, tap the red button at the top of the screen, then Stop. The video is saved in the Photos app. For your voice, touch and hold the button and turn on the microphone first. If the button isn't there, add it to Control Center; the steps are below.
Step 1: add Screen Recording to Control Center
- Swipe down from the top-right corner of the screen to open Control Center.
- Tap the + at the top left, or touch and hold an empty spot.
- Tap Add a Control, search for Screen Recording and tap it.
- Tap an empty area to finish. You can drag the button anywhere.
This is the same on every iPad running iPadOS 18 or later, including iPadOS 26 and 27. On iPadOS 17 and earlier, the switch is in Settings > Control Center: tap the green + next to Screen Recording.
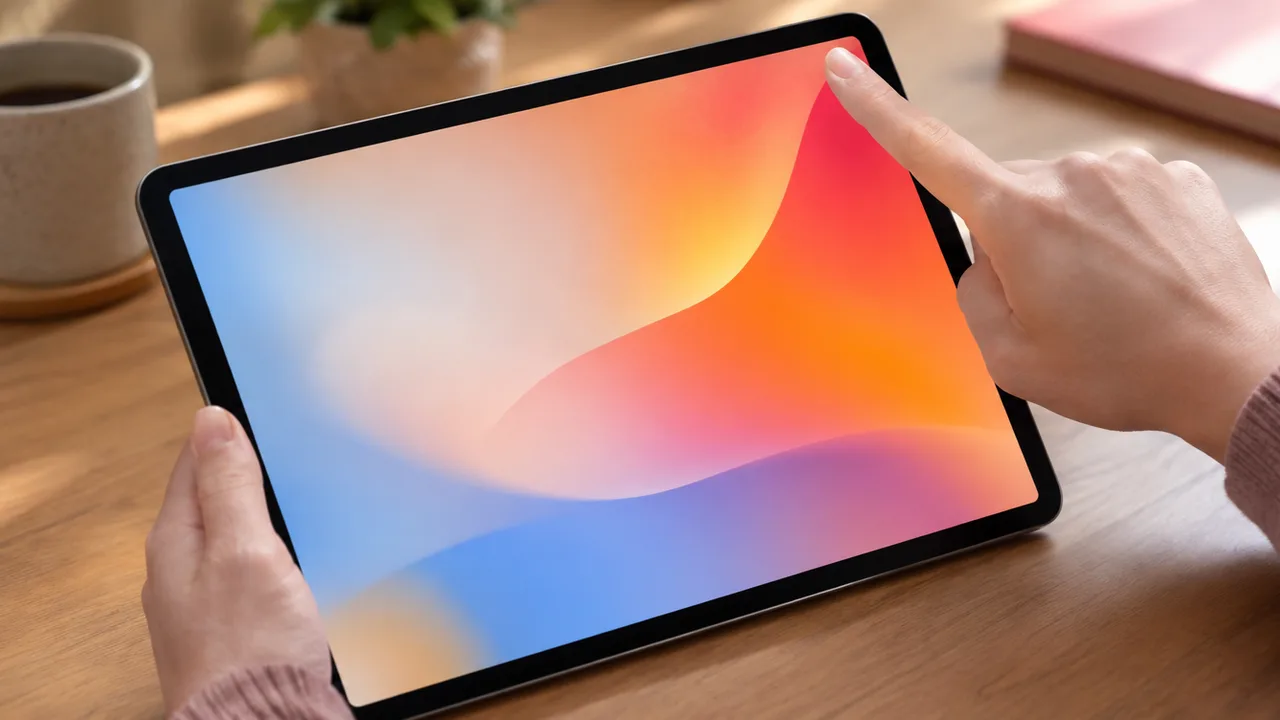
Step 2: start recording, with or without sound
- Open Control Center.
- Without your voice: tap the Screen Recording button.
- With your voice: touch and hold the button, tap Microphone to turn it on, then tap Start Recording.
- After the three-second countdown, swipe Control Center away and do what you want to record.
The sound of the app you're recording (a game, a video, a lesson) goes into the recording whenever the app allows it. The microphone adds your voice on top. Apple's guide has the same steps (Apple Support).
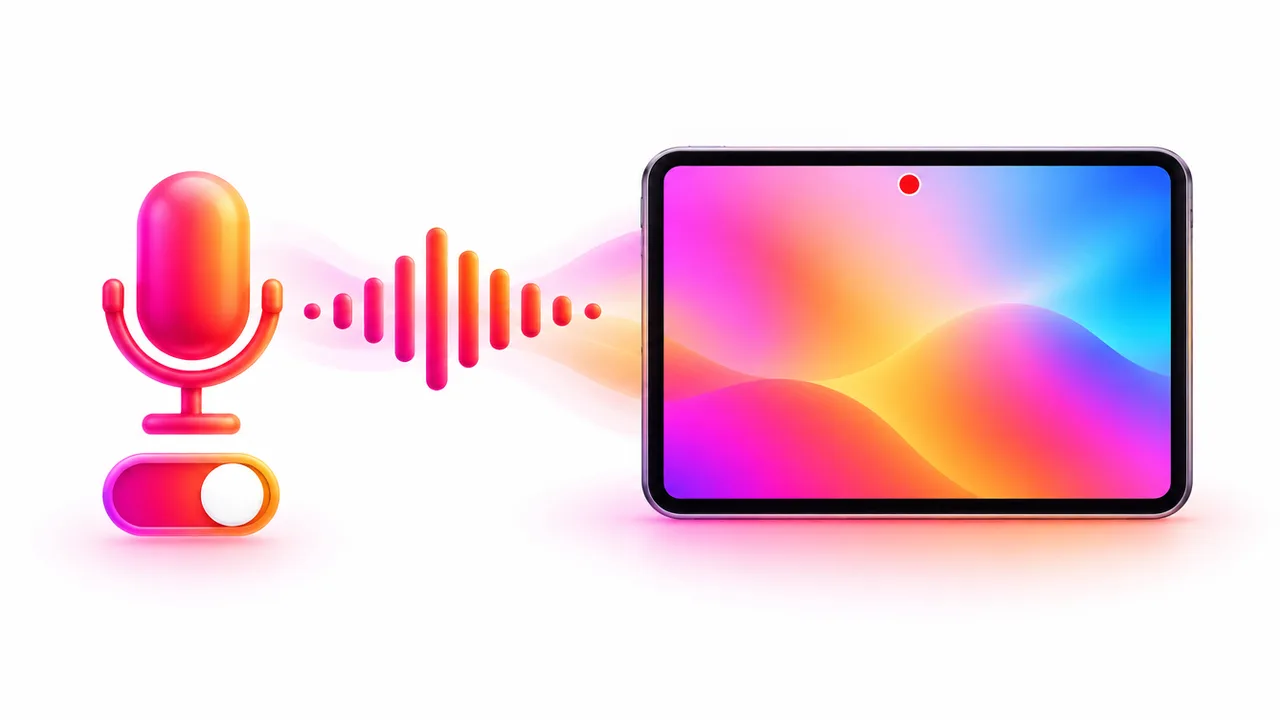
Step 3: stop the recording
- Tap the red button at the top of the screen, then Stop.
- Or open Control Center and tap the Screen Recording button again.
Step 4: find the video
Screen recordings are saved to your photo library. Open Photos, tap Collections, scroll to Media Types and tap Screen Recordings. To cut the start and the end, open the video, tap Edit and drag the ends of the frame viewer.
Which settings fit what you're recording
| You want to record | Do this |
|---|---|
| A tutorial with your voice | Microphone on; use a headset or a quiet room |
| A game or video with its sound | Microphone off; app sound is recorded if the app allows it |
| A drawing or note-taking session | Microphone on if you explain; Apple Pencil strokes show up like any other screen content |
| A FaceTime or Zoom call | Video only: iOS mutes call audio (see can you screen record FaceTime) |
| A clean recording with no pop-ups | Turn on Do Not Disturb before you start, so notifications don't appear in the video |
Recordings can be saved in SDR or HDR. In Settings > General > Screen Capture, HDR keeps more brightness and color but looks best on HDR screens; SDR is the safer choice for sharing (Apple Support).
When iPad screen recording doesn't work
- The button is grey. Screen Time can block it: check Settings > Screen Time > Content & Privacy Restrictions, or ask whoever manages the iPad (school and work iPads often block it).
- The video is black. Most paid streaming apps protect their content, and it records black.
- No sound. The app may block audio capture, or the microphone was off for your voice. More fixes in screen recording has no sound; they apply to iPad too.
- It stopped by itself. Recording ends when storage runs out; free a few gigabytes for long recordings.
- You're mirroring. You can't screen record and use screen mirroring at the same time.
Add your face to an iPad screen recording
For lessons, app reviews and gameplay, viewers like to see who is talking. iPad's recorder captures the screen only, without a camera bubble. OnAir, our app, runs on iPad: record the screen, then add a reaction on top while the recording plays, with the front camera and microphone, drag the face cam where it doesn't block anything, trim and share. The full walkthrough is in how to make a reaction video on iPhone, and the steps are the same on iPad.
Need a still image instead of a video? See how to screenshot on iPhone, which also covers iPad buttons.